
Background and Protocols
SlugNet Background and Protocols
Interested in monitoring slug counts on your farm? Get started by reading through the protocols below.
SlugNet Project Protocols
Participants
We are looking for crop advisors (agronomists) and farmers across Wisconsin to help. This project is a great fit for people who do regular field visits or on-farm research.
Commitment
You must check the traps and send in data once a week for 10 weeks. Read more about monitoring traps and reporting data below.
Fields
You must monitor at least one field, but we encourage you to monitor more. You must fill out a management history survey for each field you monitor. Read the field selection criteria below.
Submitting Data
To submit data, you will upload it to the SlugNet web form. Read instructions for submitting optional photos below.
Registration
Register for SlugNet, complete field management history forms, and print or make digital copies of the field data sheet.
Field Selection Criteria
Crops
Fields should be planted with corn or soybeans. There is no minimum field size.
Priorities
We prefer fields that use soil-saving practices like cover crops or no-till, but you can also monitor traditionally managed fields that use tillage.
Information Needed
You must know the field’s past management history and fill out as much of the survey as possible for each field.
Slug Monitoring and Data Reporting
Trap Setup and Placement
You must monitor five traps per field. The traps are 1-foot2 white roofing shingles held down to the soil surface with stakes.
Place each trap flat on the soil. Move crop residue out of the way as needed. Put the trap 15 feet away from any field edges. Keep the five traps per field at least 15 feet apart from each other.
Mark the traps with flags so you can find them again.
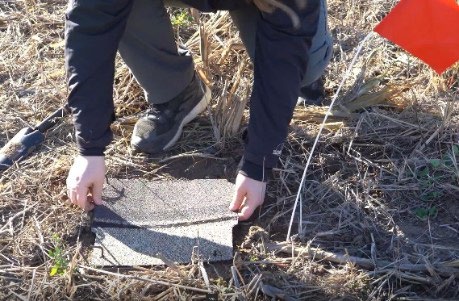
Figure 1. Establishing a refuge trap in the field. A video of this process is available.
Supplies
The traps are 1-foot2 white roofing shingles held down to the soil surface with stakes. Marker flags are used to alert farmers and you to the location of the traps.
We will provide the trap materials and markers (shingles, stakes, and flags) to all volunteers.
Timing
Traps should be deployed during the week of April 20, 2026, and the first trap check will take place the week of April 27. Monitor the traps through the week of June 29, 2026.
Volunteers should communicate with farmers to establish traps in fields. Traps can be removed and replaced in fields so they don’t interfere with field operations during the monitoring period. Volunteers can participate in monitoring at any point during the 10-week time frame.
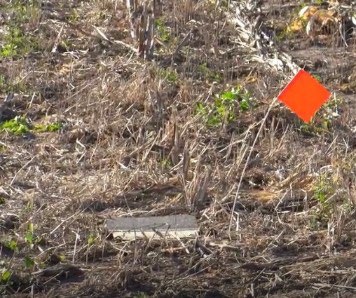
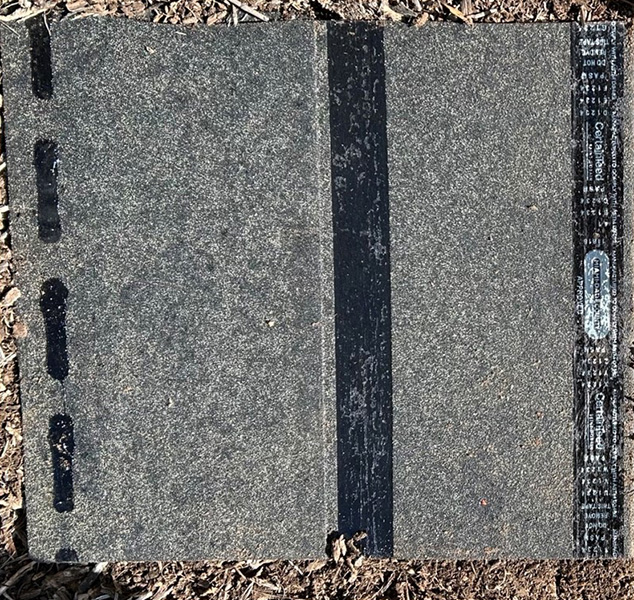
Figure 2. Traps should be placed flat on the soil surface (moving aside residue if necessary), secured with stakes, and marked with a field flag.
In this video, Dr. Emily Bick explores several types of slug traps. For SlugNet, we use a refuge shingle trap, the first trap shown in the video.
Checking the Trap and Submitting Data
Check the trap in the morning, before 10:00 a.m. if possible.
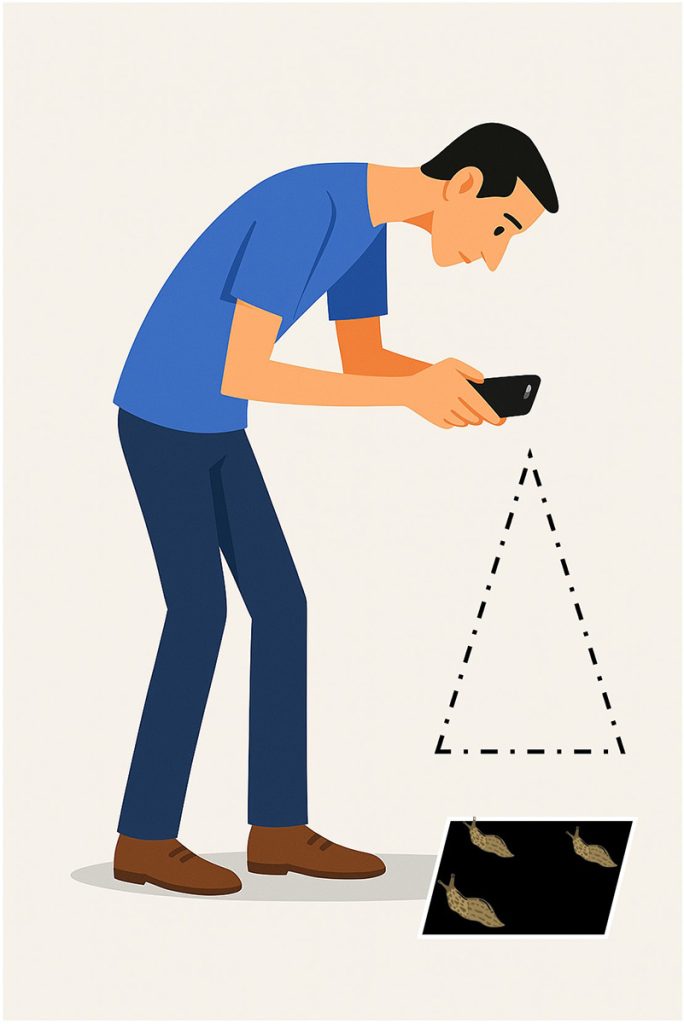
Lift the shingle and flip it over so the dark side is facing up. Count all the slugs on the shingle and on the soil surface in the shingle’s “footprint” (area of bare soil revealed when the shingle is lifted).
Record the number of slugs on the datasheet. Submit total slug counts using the online form. Do not remove or kill the slugs.
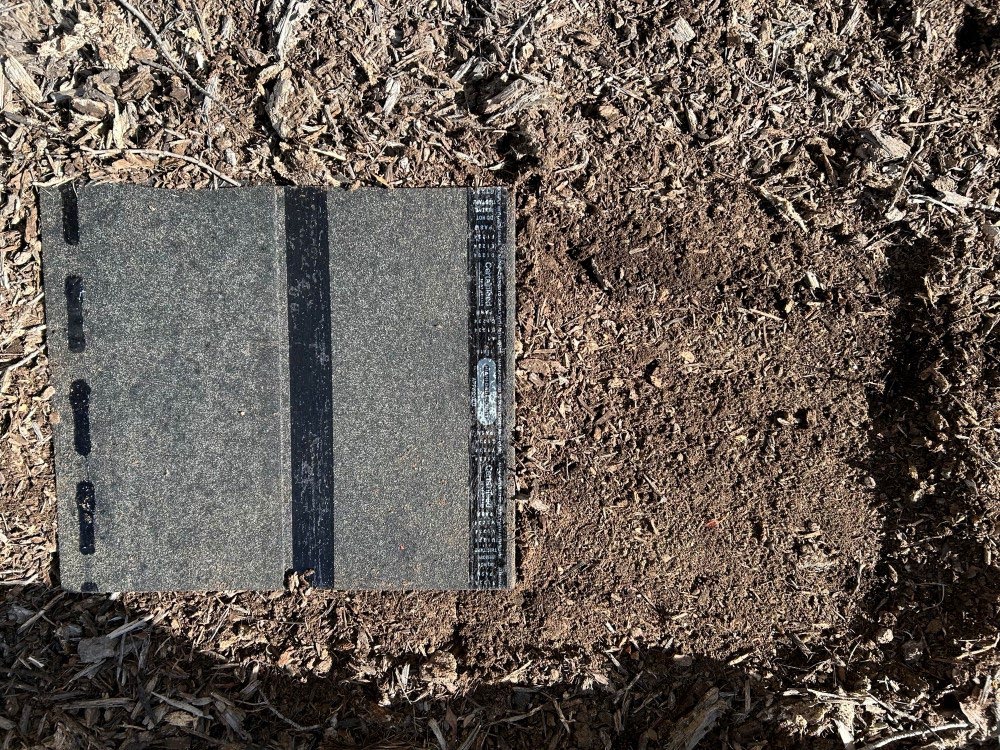
Figure 3. Example of a photo that would be taken and submitted to SlugNet
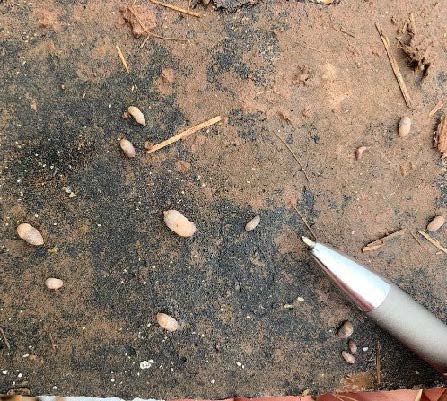
Figure 4. Slugs on the bottom of a shingle. Photo by: Andrew Frankenfield, Penn State.
Taking Photos
New this year: Volunteers are not required to submit pictures. However, pictures can still be uploaded for those who wish to participate.
Take a straight-down photo of the bottom of the shingle. Try to capture just the shingle in the photo frame (keep as much of the surrounding ground out of the picture as possible). Upload this photo to the SlugNet app. Tips for taking photos are listed below.
Resetting the Trap
Secure the trap back down where it was after you send the photo. Do not remove or kill the slugs. Ensure your marker flag is still placed near the trap.
Tips for Taking Photos of Shingle Traps
Flip the shingle over so the black side (bottom) faces up. Take the photo from a top-down or aerial perspective. Make sure GPS location services are enabled on your phone.
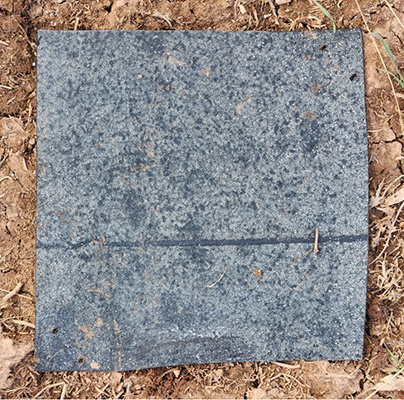
Attempt to minimize the ground around the shingle in the photo. You can do this by zooming in on your phone or moving closer to the shingle. Be aware not to cast a shadow over the shingle. The photos above are ideal, with far less ground than shingle showing in the photo.
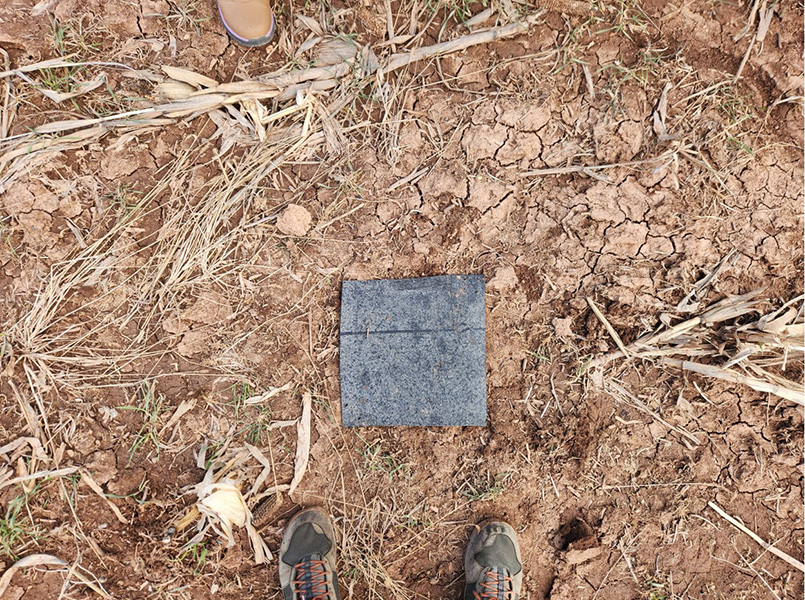
The photo above is an example of what not to do. The shingle is too far away. There is far more ground than shingle showing in the photo.